Thursday, March 5, 2015

William Hogarth and his "Four Stages of Cruelty"


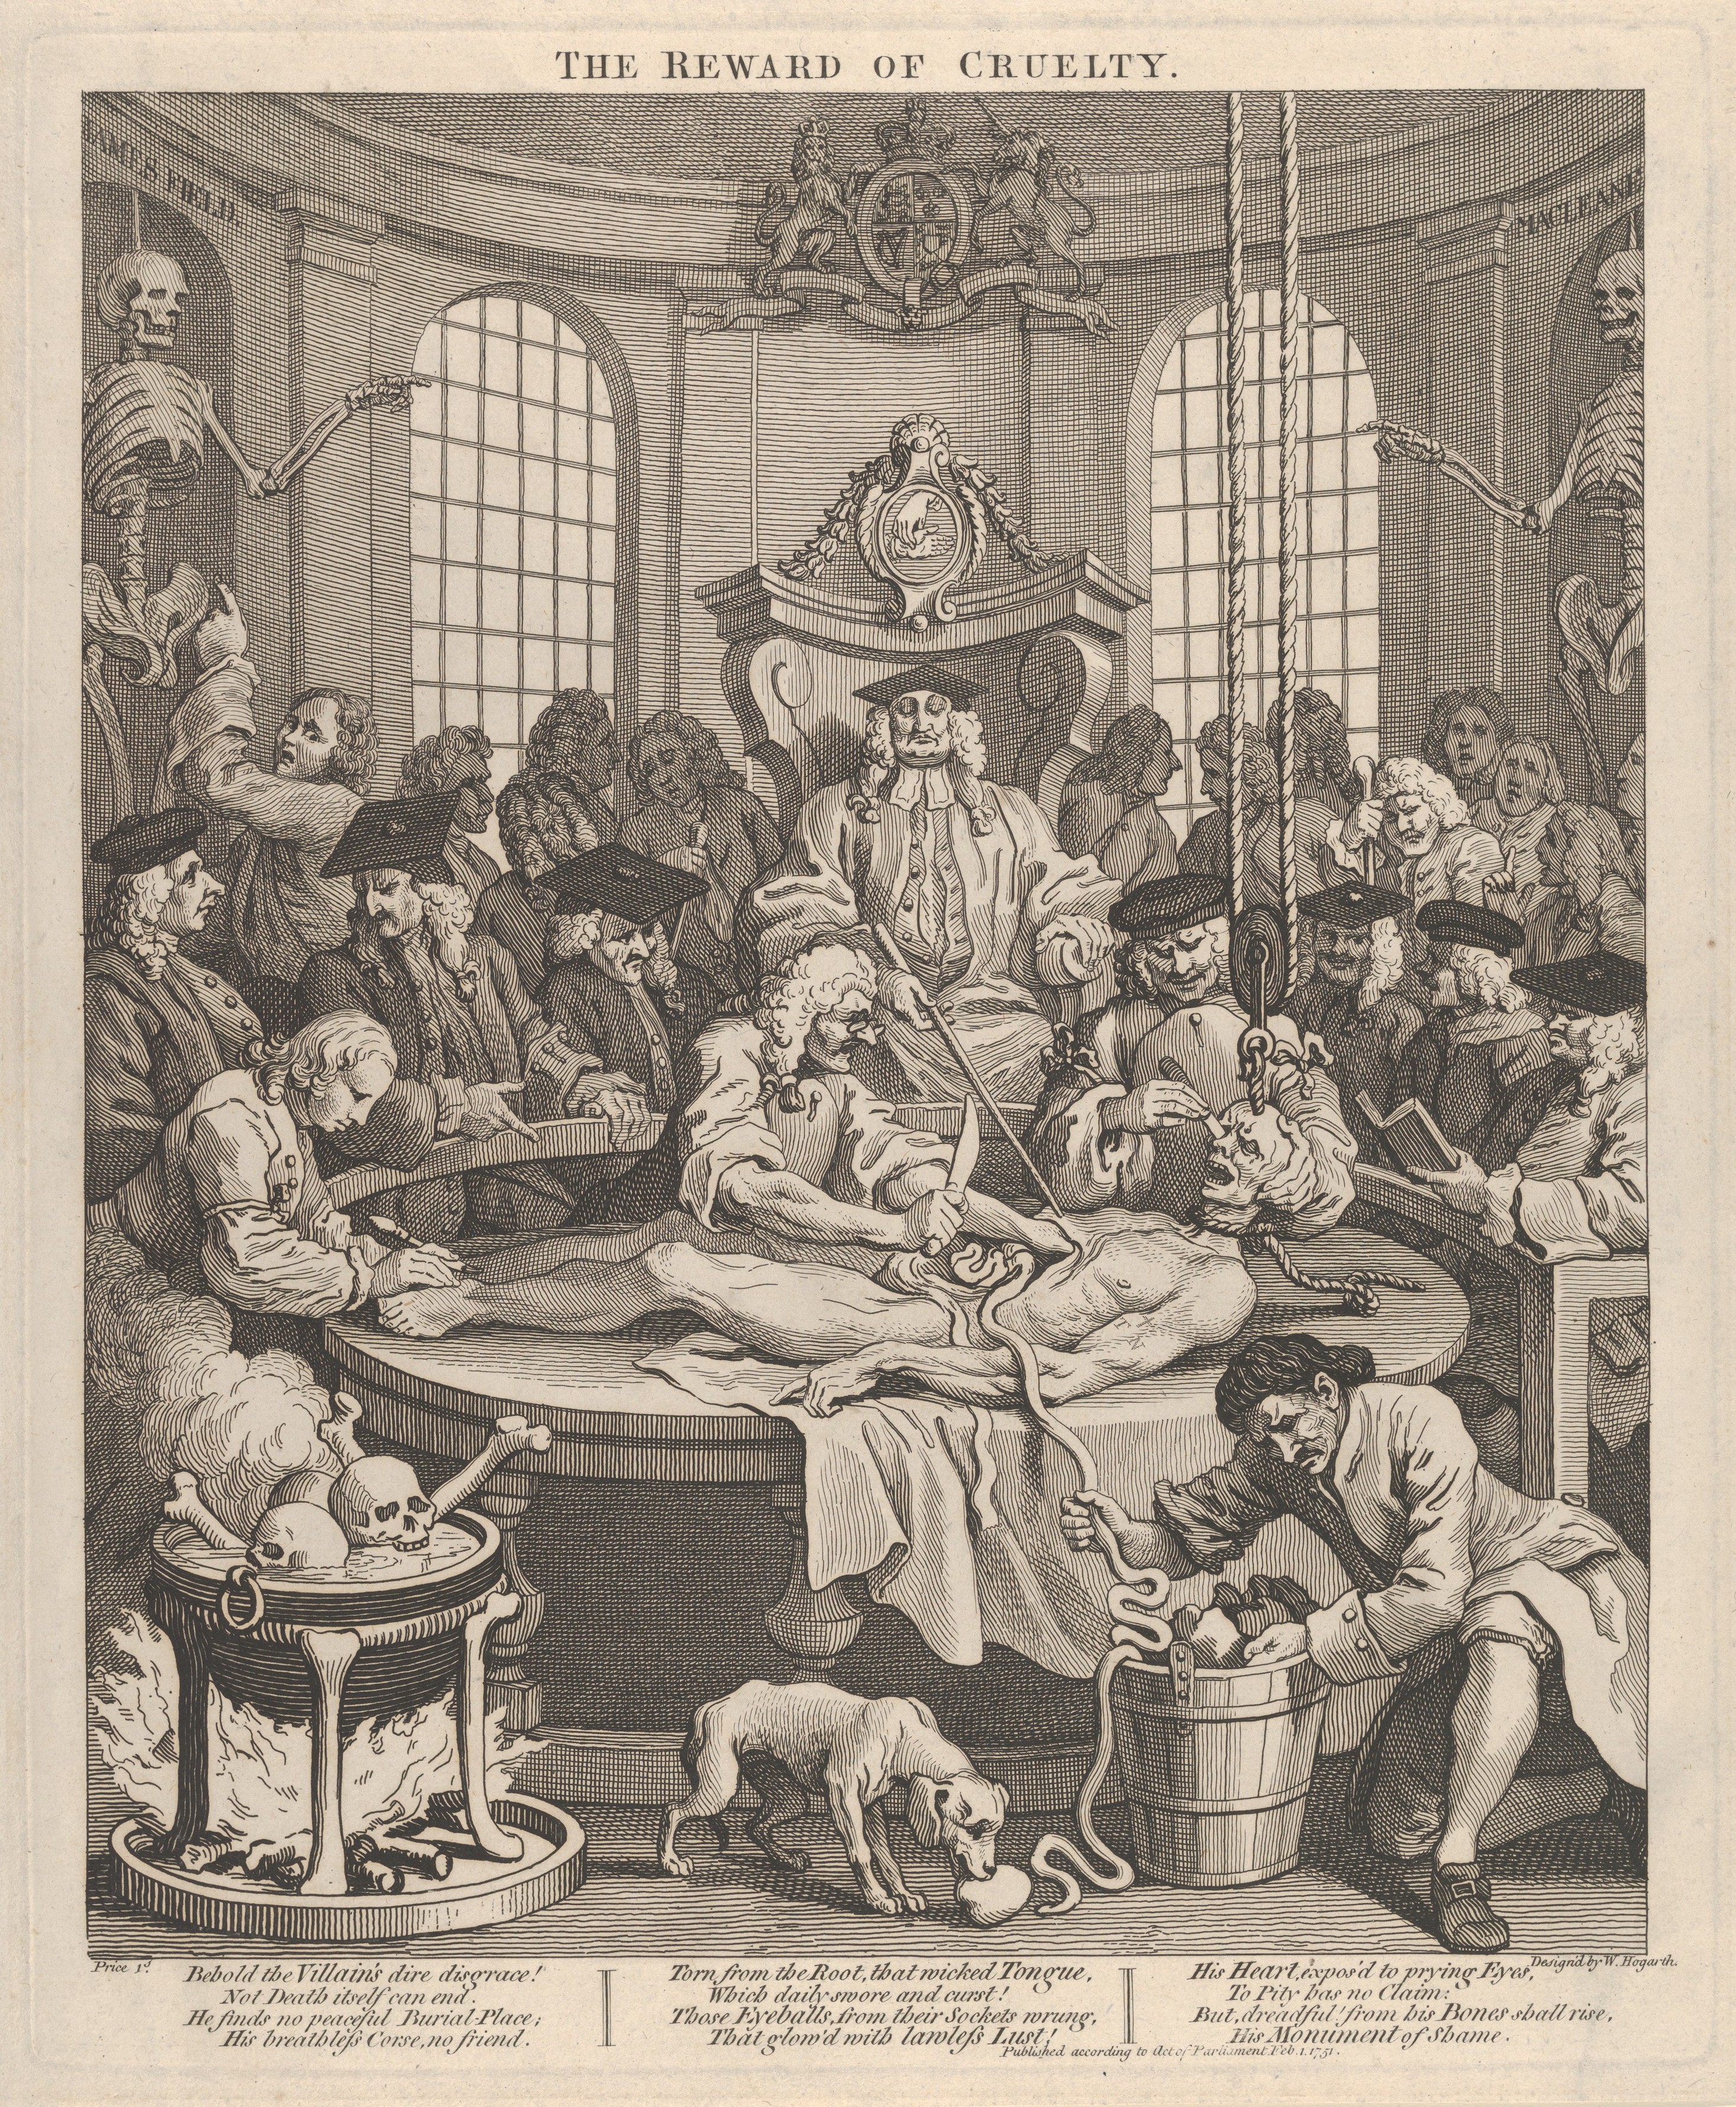
“The Reward of Cruelty” by William Hogarth
There is a great post up over at Our Hen House about William Hogarth's prints (engravings) as protest against cruelty. His series, Four Stages of Cruelty, depicts the connection of cruelty towards non-humans to cruelty towards fellow humans in societal problems and norms.

The post considers activism within the artistic community both historically and contemporarily. This interests me greatly as I am guided by my own morals and activism when creating my artwork, as returning visitors to this blog must surely know.

Friday, January 2, 2015

Mixed Media Monotypes

'Hit' mixed media and ink monotype.
©2014, Elana Goren. All Rights Reserved.
I've been doing alot of drawing on top of some of my water-media monotypes. The one pictured above used the monotype technique described here and here as well as here, but I used a non-waterproof calligraphy ink instead of watercolor and pigments.

Conte crayons, charcoal and pastels work really well as drawing mediums on top of monotypes whether they are oil or water-based. Using these mediums adds another dimension to your print and allows the flexibility to enhance or change the initial drawing that is part of the monotype.

Please see previous posts for reference about how to create water-media (watercolor) based monotypes.

Sunday, November 2, 2014

Not My Usual Post

Cup and Saucer Vine bud(s)
Photo was taken Nov. 1, 2014
File this post under:
This is completely unrelated to printmaking but something I wanted to share just the same...
__________________________________________________________________________

I am not the most experienced or accomplished gardener, but this year I had some successes with seeds planted last March, indoors on a make-shift, grow-light shelving unit that I set up for seed starting. The frost-free dates in my area are in mid-May and if I wait that long to plant seeds, it will be frosty again before I see alot of the plants mature.

The photos shown are of cup and saucer vines planted from seed, indoors in March. Even with their early starts this year, they didn't flower until early October. This may be because my gardening skills are lacking or maybe it's normal for the plant to take so long to mature enough to flower, but when it did finally flower, it did so spectacularly. And it nicely covers my deck railing bringing a natural softness to the straight lines of the wood slats. I planted it as a hummingbird plant but since the flowers bloomed after the hummingbirds were long gone, it ended up being a mid-Fall late bloomer after all the other (perennial) plants were way past their blooming times.

The other annual plants that I have for the hummingbirds are still flowering: Cigar plant, Butterfly Deep Pink Pentas and a Bahama Firebush. These were all potted and brought inside with hopes of successfully overwintering them indoors while the snow falls outside. While they were outside living on my deck and in my side garden, they fed the hummingbirds so well, that the birds were fighting over the garden on a daily basis.

Here are a couple of more photos (below) of my Cup and Saucer Vine. I shot these yesterday, worried that if I waited any longer, the impending freeze that will visit us any day now will kill the plant before I have a photographic record of it's beauty.

Cup and Saucer Vine
Cup and Saucer Vine

Monday, October 13, 2014

Upcoming shows

Dark Side of the Road
Aquatint Etching, © Elana Goren
My etchings will be in a couple of upcoming shows in October and November:

October 26 - November 8, 2014
NY Society of Etchers
Intaglio Prints New York/Melbourne
Reception: October 30, 6-8 PM
National Arts Club
15 Gramercy Park South
New York, NY

October 29 - December 10, 2014
SIPMA Juried Exhibition
"I Live Here"
Reception: October 29, 4:30-7:30 pm
Harold B. Lemmerman Gallery
New Jersey City University, NJ

See the calendar side bar on the right for more info.

Tuesday, October 7, 2014

Big Steamroller Printing Day on Sunday

This past Sunday, October 5, was the day that the steamroller project came to its ultimate conclusion—the printing of the huge woodcut blocks with a steamroller.  It was a beautiful day in Garrison, NY and we had a great turnout. There are some really wonderful (and nicer than seen here) photos of the event on the Garrison Art Center Facebook page and a really nice photo essay on this blog (link).

My plates went first and there were logistics that had to be worked out after mine and another set of plates were printed unevenly. After that, they rotated the direction of plates in relation to the steamroller drum which yielded better results. So, they very generously offered to print my plates again at the end of the session so that my 2nd print would benefit from the kinks having been worked out after the first printings.

Below is a step-by-step photo sequence that explains how the printing was done:
Here are some of the blocks waiting to be printed.

Inking up the plates with a huge roller.
Cutting the vinyl blanket to size before it's put over the underboard.

These are my 3 inked plates (triptych) side-by-side
on top of the vinyl blanket and the underboard.

Laying the proofing paper over the plates.
The top blanket layer goes over the paper.

The top MDF board covers the layers of
blankets, plate and paper.

Sweeping the dust and dirt from the roller drum.
Driving over the boards to print the plate sandwiched
between top and bottom boards, blankets.
Pulling the proof after printing.
Head Trap, Woodcut, 96" x 48" (8' x 4')
The second print had better ink coverage. Some areas were over-inked but overall it was pretty cool having a print this size.

Wednesday, September 17, 2014

Steamroller Project Work-In-Progress

Initial sketches (in book) and further sketch for the three 32" x 48" panels
I've been working away on the woodcut project for Garrison Art Center's Rolling on the River event. Above you can see the initial sketches that I was working with to create the composition that I am using for reference to carve the images.

I have three 32" x 48" panels which will form a 4' x 8' triptych print. The composition was designed so that each panel could stand alone as well as work in combination with the other panels to form a larger unified image. This was done partially for logistical reasons (fitting the panels in my car as well as easing the ability to hand-print later on—if I wish to—when I won't have a steam roller on hand).

Below, are images of the middle and left panels on the floor with my sketch reference handy to guide me as I carve the image into the wood. The wood that I am using is 1/2" birch plywood.

The bottom pic is of the right panel with ink applied so I could see the image more clearly and add details and refinements with more clarity. I'm still working on this but it gives me an idea of how the other panels will look and where I need to modify my approach as the image comes together.

Sketch reference on top of middle and left panel. Carving in-progress.

Right panel with ink applied so that I can see the image more clearly. Still working on details but the cow image is emerging.